
The “Miracle Boule” - Sunday bread

I originally saw this bread recipe on the Laura Calder “French Cooking at Home” show. It took a pandemic before I would make it, over and over again!
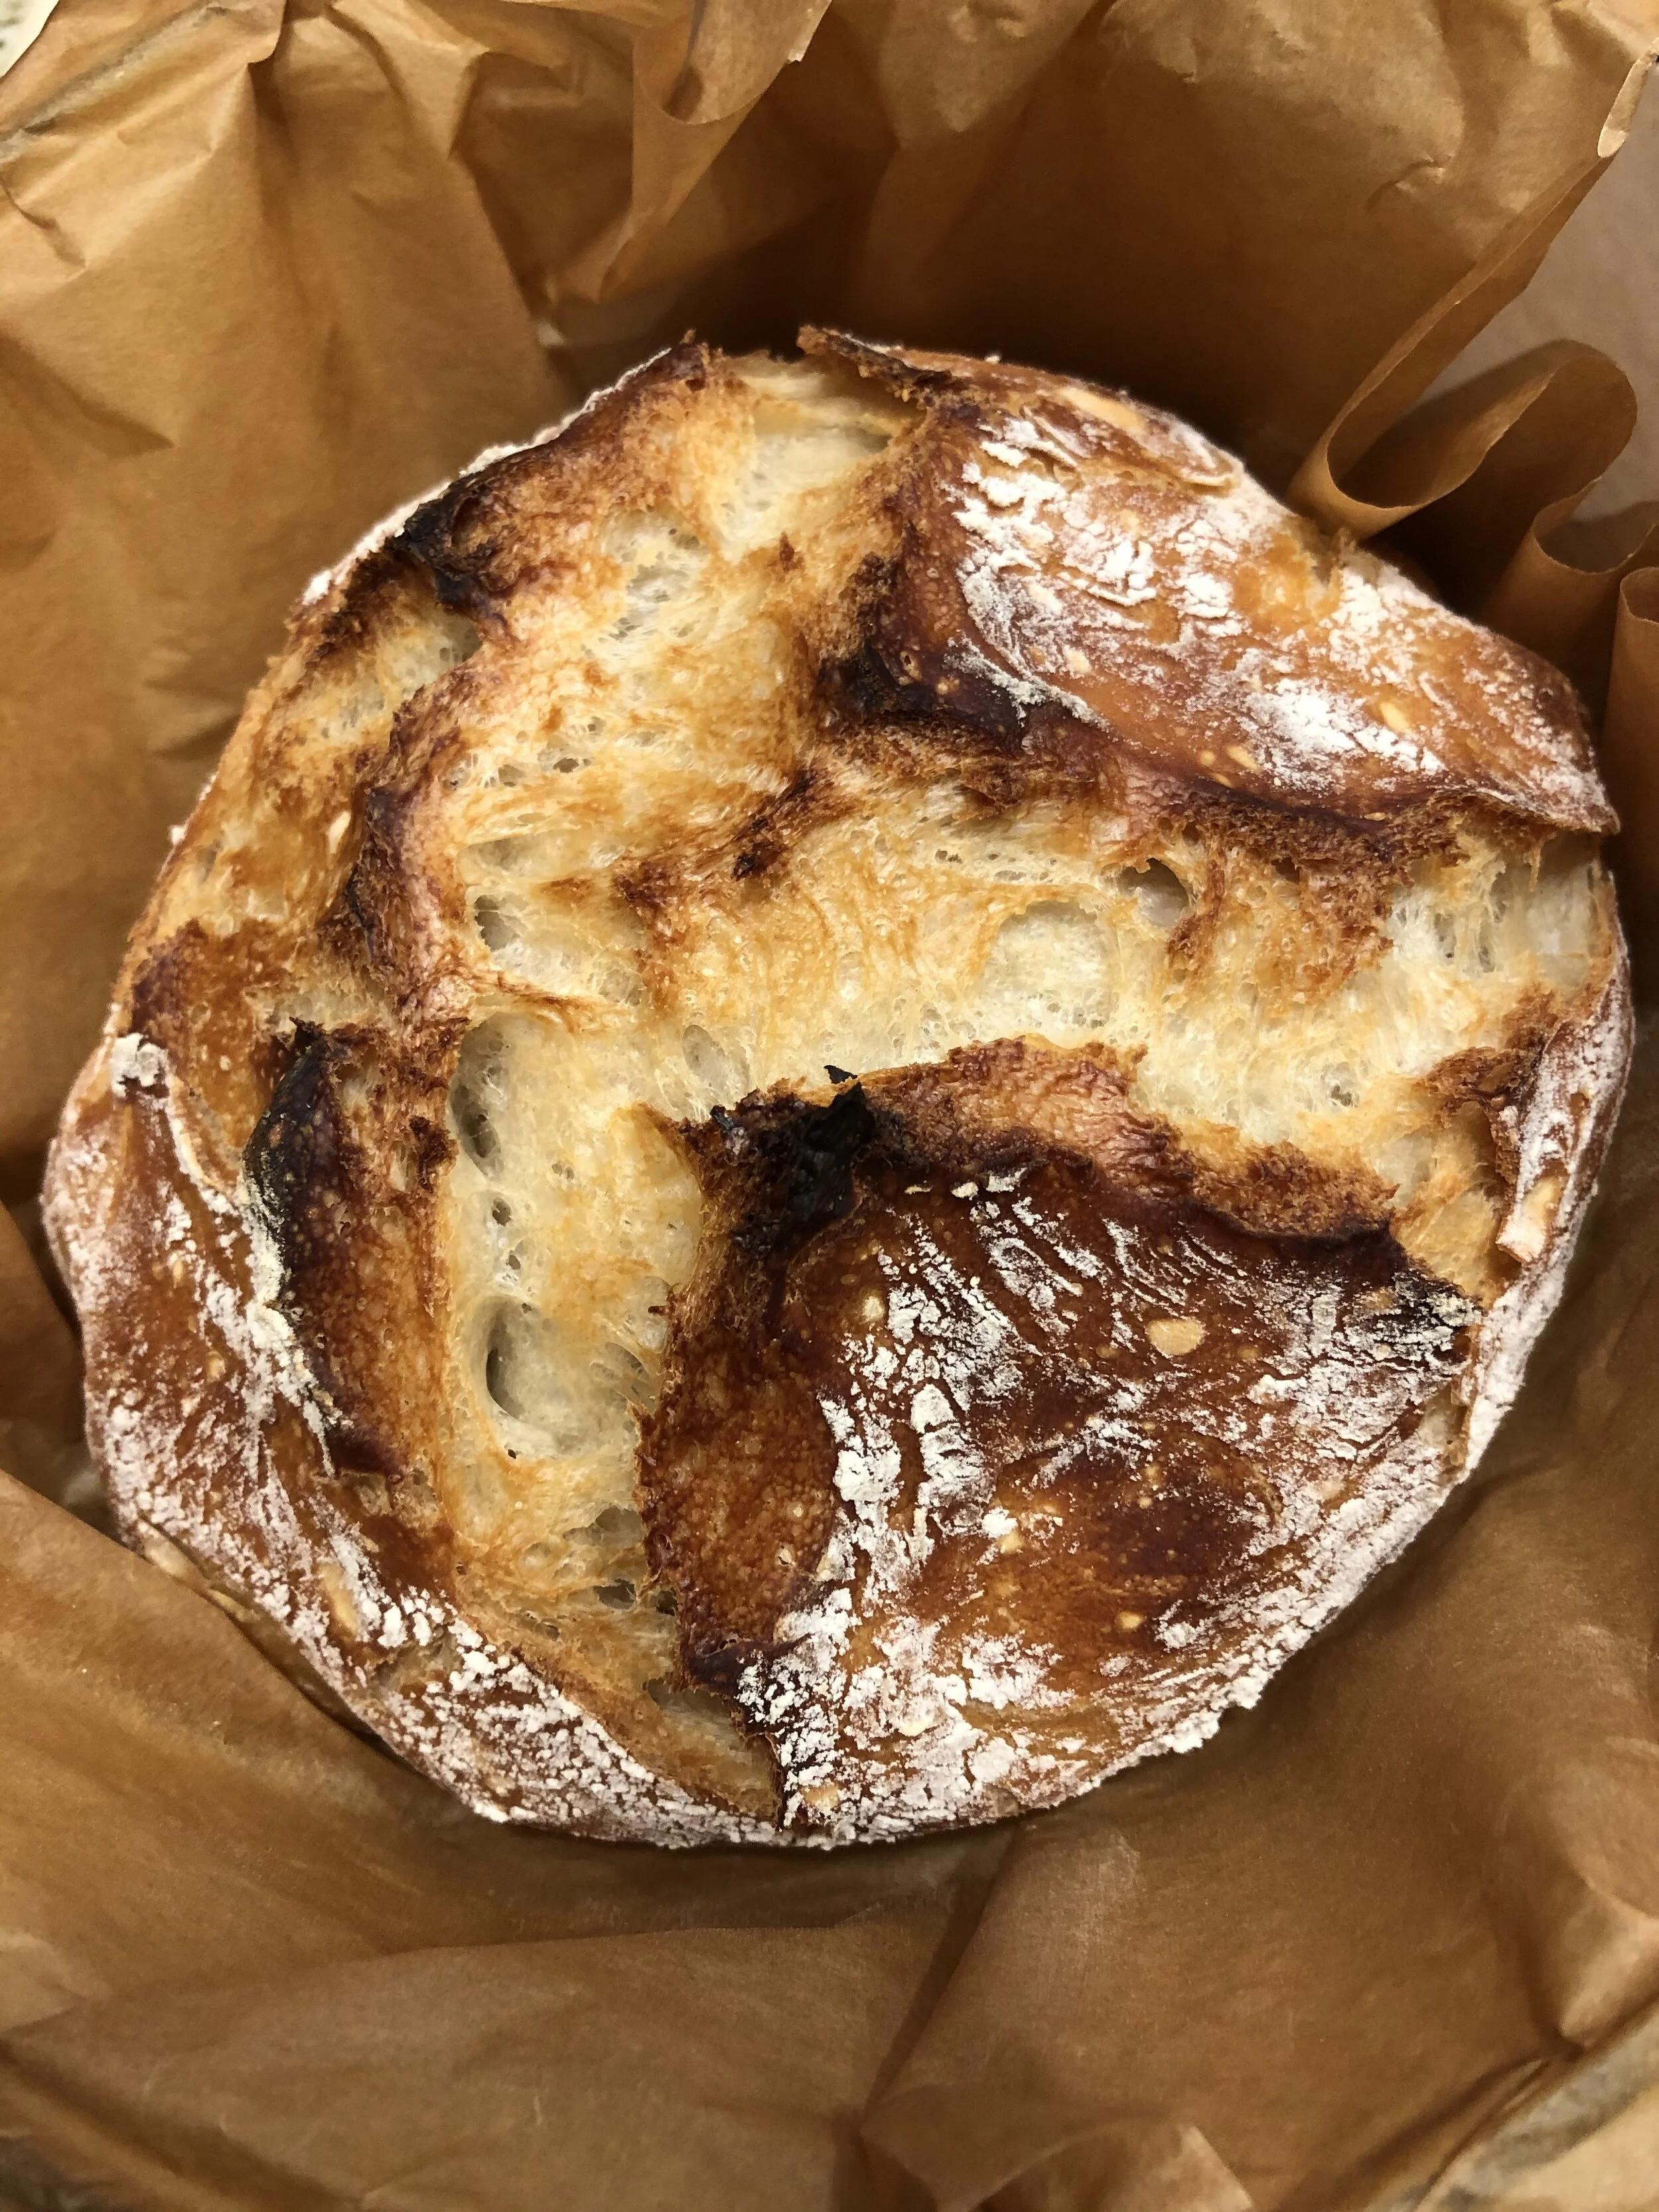
As fearful and uninterested as I was all my adult life about baking bread, I have become obsessed with this little miracle boule. It’s crusty, has a great crumb, and one loaf will last my husband a week. The actual recipe is only three ingredients plus water. I have made over a dozen loafs in fewer weeks. I have discovered some nuances to getting the best loaf possible, which I will share in the recipe below.
Ingredients:
It will take 12 hours before you can bake the bread, so start the day before you want to serve it. You will need an oven proof Dutch oven and parchment paper.
3 cups all-purpose flour, plus more as needed - use scoop and flatten method for most accurate measure.
Note: I tried bread flour and did not see a difference. On one visit to Whole Foods, I found Heritage flour, sold in bulk. It was all they had, so I purchased some. It may be that I’ve gotten really good at this, but this was the best bread I baked so far. I will be searching out this flour again.
1 1/2 teaspoons salt, I use Morton’s kosher salt. If using table salt use 1/2 the amount.
1/4 teaspoon instant yeast
1 1/2 cups warm water - I put 1 1/2 cups water into a Pyrex pitcher and microwave it for 30 seconds.
Preparation:
Add the flour to a large bowl. This will be the bowl where all the proofing is done.
Add the yeast and the salt.
Note: I read recently that yeast should not touch the salt. I’m not sure how scientific that is, but it’s easy enough to do, so keep them on separate sides of the bowl when you add them to the flour. Mix the yeast and salt into the flour in separate areas, then blend all together.
Add the water to the flour, incorporating all the flour so there are no dry spots. I use a rubber spatula, but wet hands or a wooden spoon also work. If there are dry spots, add a tsp of water around the edge of the bowl and incorporate the flour into it. The dough will be shaggy at this point. You are not working the dough, you are just letting the water incorporate into it and activate the yeast.
Cover the dough in the bowl with plastic wrap and then a linen towel. Leave the dough to rise in the counter, not in the refrigerator.
12 hours later, uncover the dough, it will be big, lumpy and sticky, looking like the surface of the moon with bubbles. This is perfect!
Using the rubber spatula turn out the dough onto a well floured surface. Work the dough by pulling up one end, then push it into the center, doing this on all corners, twice. You will need to add flour as it will be sticky.
After working the dough, give it it’s shape, forming the dough into a ball (boule). Once the ball is formed cover it generously with flour.
Cut parchment paper large enough to fit into the dutch oven, but first place it in the proofing bowl, then add the shaped boule to the bowl, making sure no paper edges are cutting into the bread.
Note: you can skip the parchment paper, but it makes moving the boule to the Dutch oven and removing it from the hot Dutch oven very easy.
Cover it again and wait a 2 hours before putting it into the oven.
30 minutes before you are going to pop it in the oven, heat your oven to 450 degrees. Put the covered Dutch oven in there to pre-heat.
Before the bread goes into the oven take the time to score the top. I find this helps it rise further. You can use a sharp knife or cut into the dough with scissors. I usually make a cross for my Sunday bread.
Remove the Dutch oven from the hot oven, remove the lid. Pick-up the boule with the parchment paper, by the corners, and place it into the hot pot, careful not to burn yourself.
Ensure the lid is tightly fitted, then put the covered pot back into the hot oven.
Bake for 30 minutes with the lid on.
After 30 minutes, remove the lid and bake another 20 minutes with the lid off. This is where the golden crust will develop.
Remove from the oven, pick up the bread from the corners of the parchment paper, and let cool before cutting into it.
I find its best to cut the loaf in half, then create slices from the half, rather then trying to slice through the large loaf.
To store, put remaining bread into a Ziploc bag or wrap in plastic. It is easier to cut when it’s at least a day old and it makes the best toast.
It’s easy to remove the bread from the super-hot pot with the parchment paper.

Try as hard as you can to let the bread cool before cutting into it.
One loaf lasts my husband and I a week.